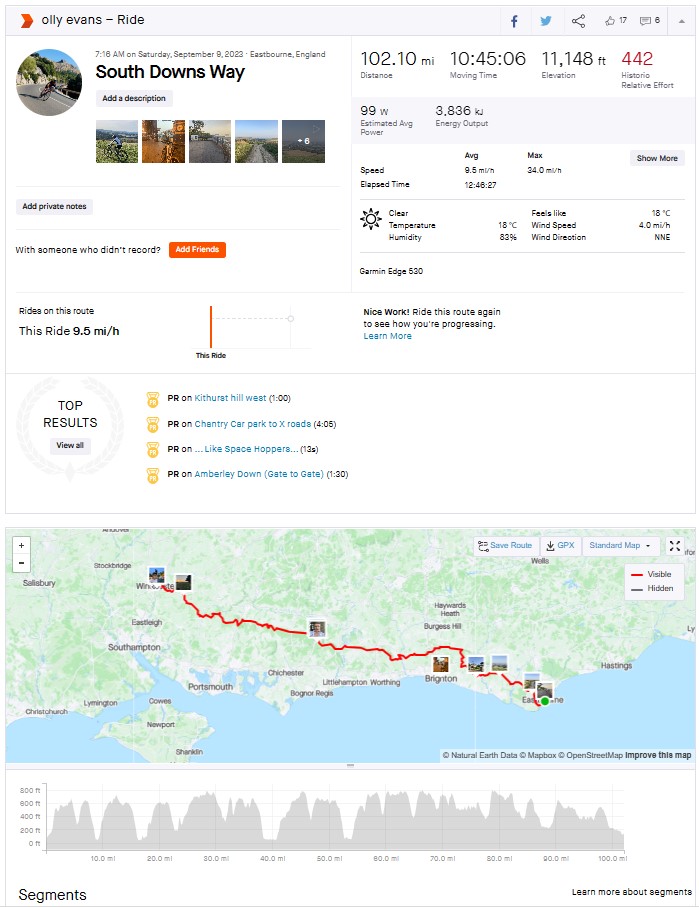
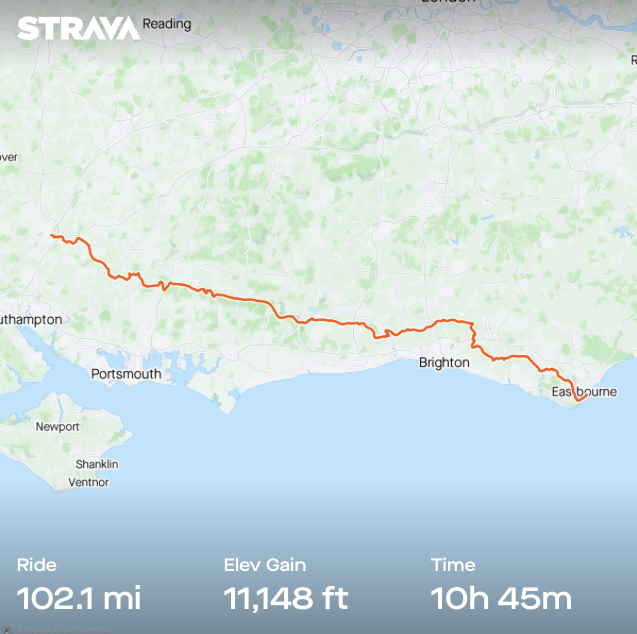
Last weekend I fulfilled a long-held ambition to ride the South Downs Way. I’d been meaning to do this for years and had ridden much of it in parts, but never end to end. Having provided ebikes for many customers to ride it, I decided it was time to stop pretending to be an expert and to get on with Riding the South Downs Way in a day!.
My report includes lots of tips, but if you are planning a ride you should also read our guide to riding the South Downs Way covering everything from bike choice to kit list, navigation to nutrition.
The South Downs Way can be tackled in various ways to suit anyone that can ride a bike and has a reasonable level of fitness, whether you want to take it easy or take on a serious challenge.
I prepared for the ride with advice from SeBR’s QECP Centre Manager, Paul, a veteran of multiple SDW rides. This and the experience from my own SDW ride taught me a huge amount and, having struggled to find good advice online myself, I hope my experience and tips below will help you to plan a successful South Downs Way ride, whether you are planning to do it in one day or three, on an e-bike or an analogue bike.
My original idea had been to ride the SDW over two days with a mate or two, stopping for pub lunches and an overnight stay but I never found time to organise this. Furthermore, the response from Paul (co-owner of Southern eBike Rentals and whippet XC racer) to my intention to take 2 days was unprintable and, with my summer fitness and daylight hours ebbing away, I realised that I wasn’t going to find two consecutive days without work or family commitments, so the only option was to attempt it in a day.
The prospect of light Easterly wind, fine weather and no train strikes was enough to make my mind up on Monday – Saturday would be the day. Unfortunately, as I started to prep my bike and kit, a fine forecast soon turned into the hottest day of the year, but there was no going back. I was going to be Riding the South Downs Way!
“Britain recorded its hottest day of 2023 so far on Saturday, with a high of 33.2 Celsius”
PREPARATION FOR A SOUTH DOWNS WAY RIDE
I won’t go into much detail of how I trained for this ride as I know very little about sports science and didn’t follow any kind of structured plan. Suffice to say, I did ride about 600 miles of hills (both road biking in the Alps and mountain biking in the South Downs) in the previous two months and tried to break my habit of riding too hard, chasing average speeds and any riders spotted in front. Riding longer climbs in the Alps (where going “into the red” is a surefire recipe for failure) taught me to manage my efforts far better and using my heart rate monitor to attempt to climb in zones 2 and 3 was a game-changing new habit that helped me finish the ride feeling better than I had imagined possible.
Having made the decision to ride so late, my prep was a bit last minute and the night before, I was still packing my hip pack and loading my route to my Garmin, totally underestimating that this would take several hours. After getting to bed 2 hours later than planned I lay awake wondering what I had forgotten – not the best night’s sleep for an early start. Having not tested everything, an unresponsive heart rate monitor had my heart rate spiking on the train to Eastbourne, only to find that I’d forgotten to take the sticker off the coin battery! With hindsight, all of this should have been done a day earlier to allow me time to check everything and think about what I had forgotten.
THE BIG DAY
I pulled into the car park of Chichester station at 5.10 and spent the train journey listening to podcasts and shovelling as much breakfast (overnight oats with berries and jam filled croissants) down me as I could stomach. Changing at Brighton gave me time to buy coffee and Southern Rail rolled me into Eastbourne at 7.05.
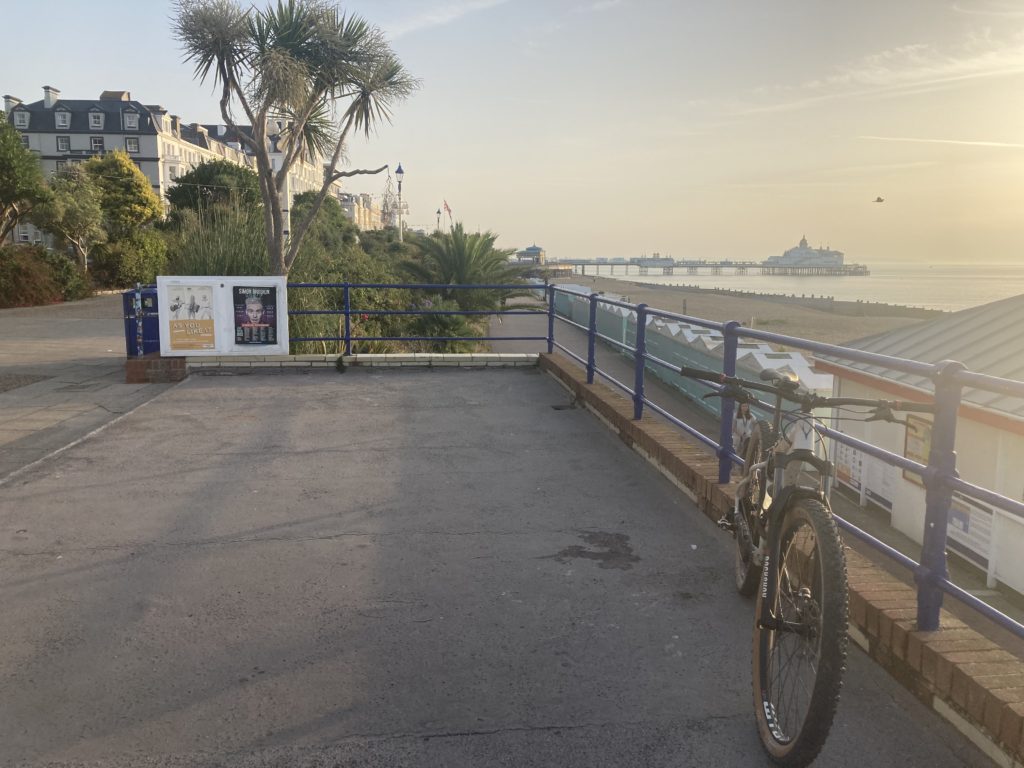
The disadvantage of starting in Eastbourne is going straight into the tough climbs and within minutes my heart rate hit 168bpm on a 20% incline. However, having failed to pace myself on previous endurance (but shorter) events, I knew I had to slow down, and every time I was tempted to look at my average speed, I looked at my % of max heart rate instead. This soon reined me in to a moderate pace – covering ground but conserving energy.
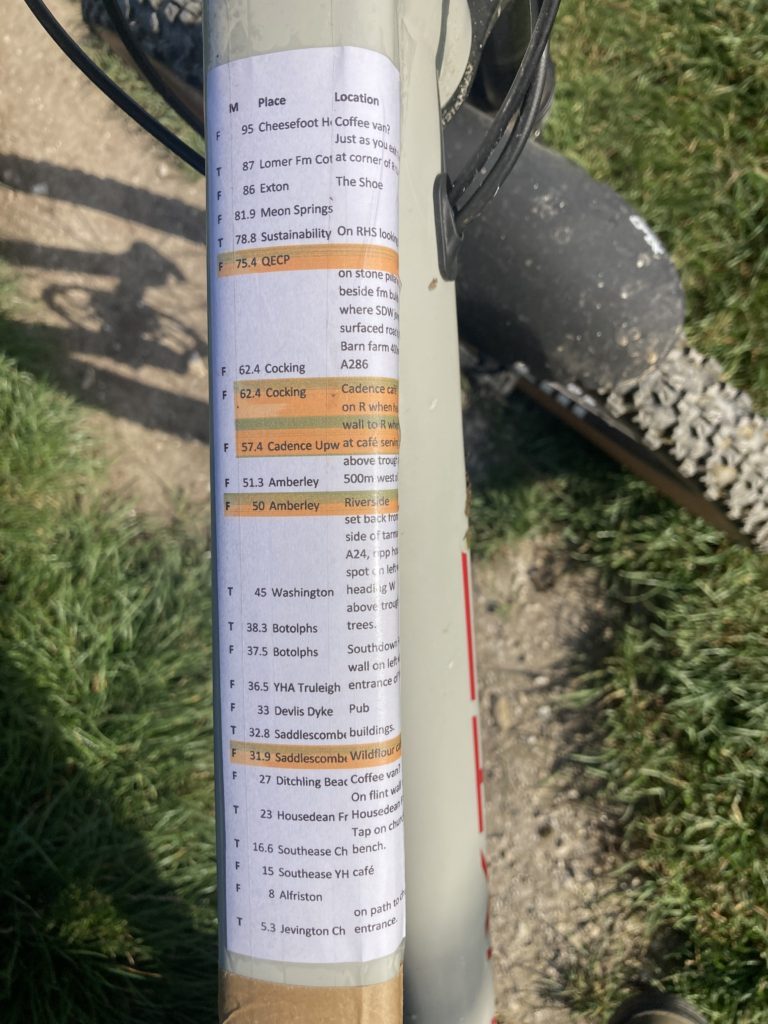
A couple of years ago I discovered the freedom of mountain biking without a backpack and, not wanting to revert to wearing one on this ride, I was travelling as light as possible (see Kit List). As a result, I had carefully researched all the places en route to get water and food and created a comprehensive list of cafes, pubs, coffee vans and taps that I taped to my top tube.

Having set out with ideas of stopping at coffee vans and pubs for cappuccinos and bacon sandwiches, I found I was reluctant to waste any time with unnecessary stops. The taps, were a godsend – right on the trail, quick to replenish water without having to wait in line to ask nicely and even better for dousing myself in cold water to cool off.
Having suffered with cramp in the past on longer rides, I was conscious of the need to fuel and was pretty structured in eating every thirty minutes and varying my diet – Soreen, jam sandwiches, cashew and pistachio nuts, flapjack, gels, jelly babies and bananas.
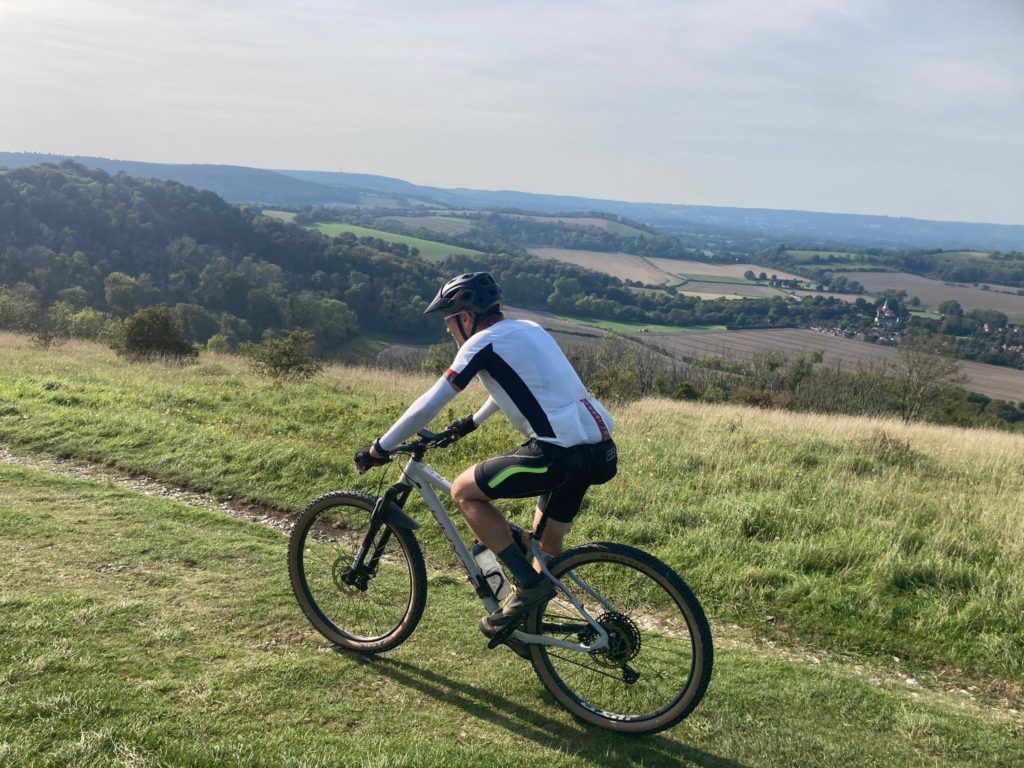
Taking the climbs steadily (but pressing on over the flats), minimal faffing and regular eating meant I completed the first (and hilliest) 40 miles in less than 4 ½ hours and still felt fresh – in stark contrast to how I felt after my last 37.5 mile training ride.
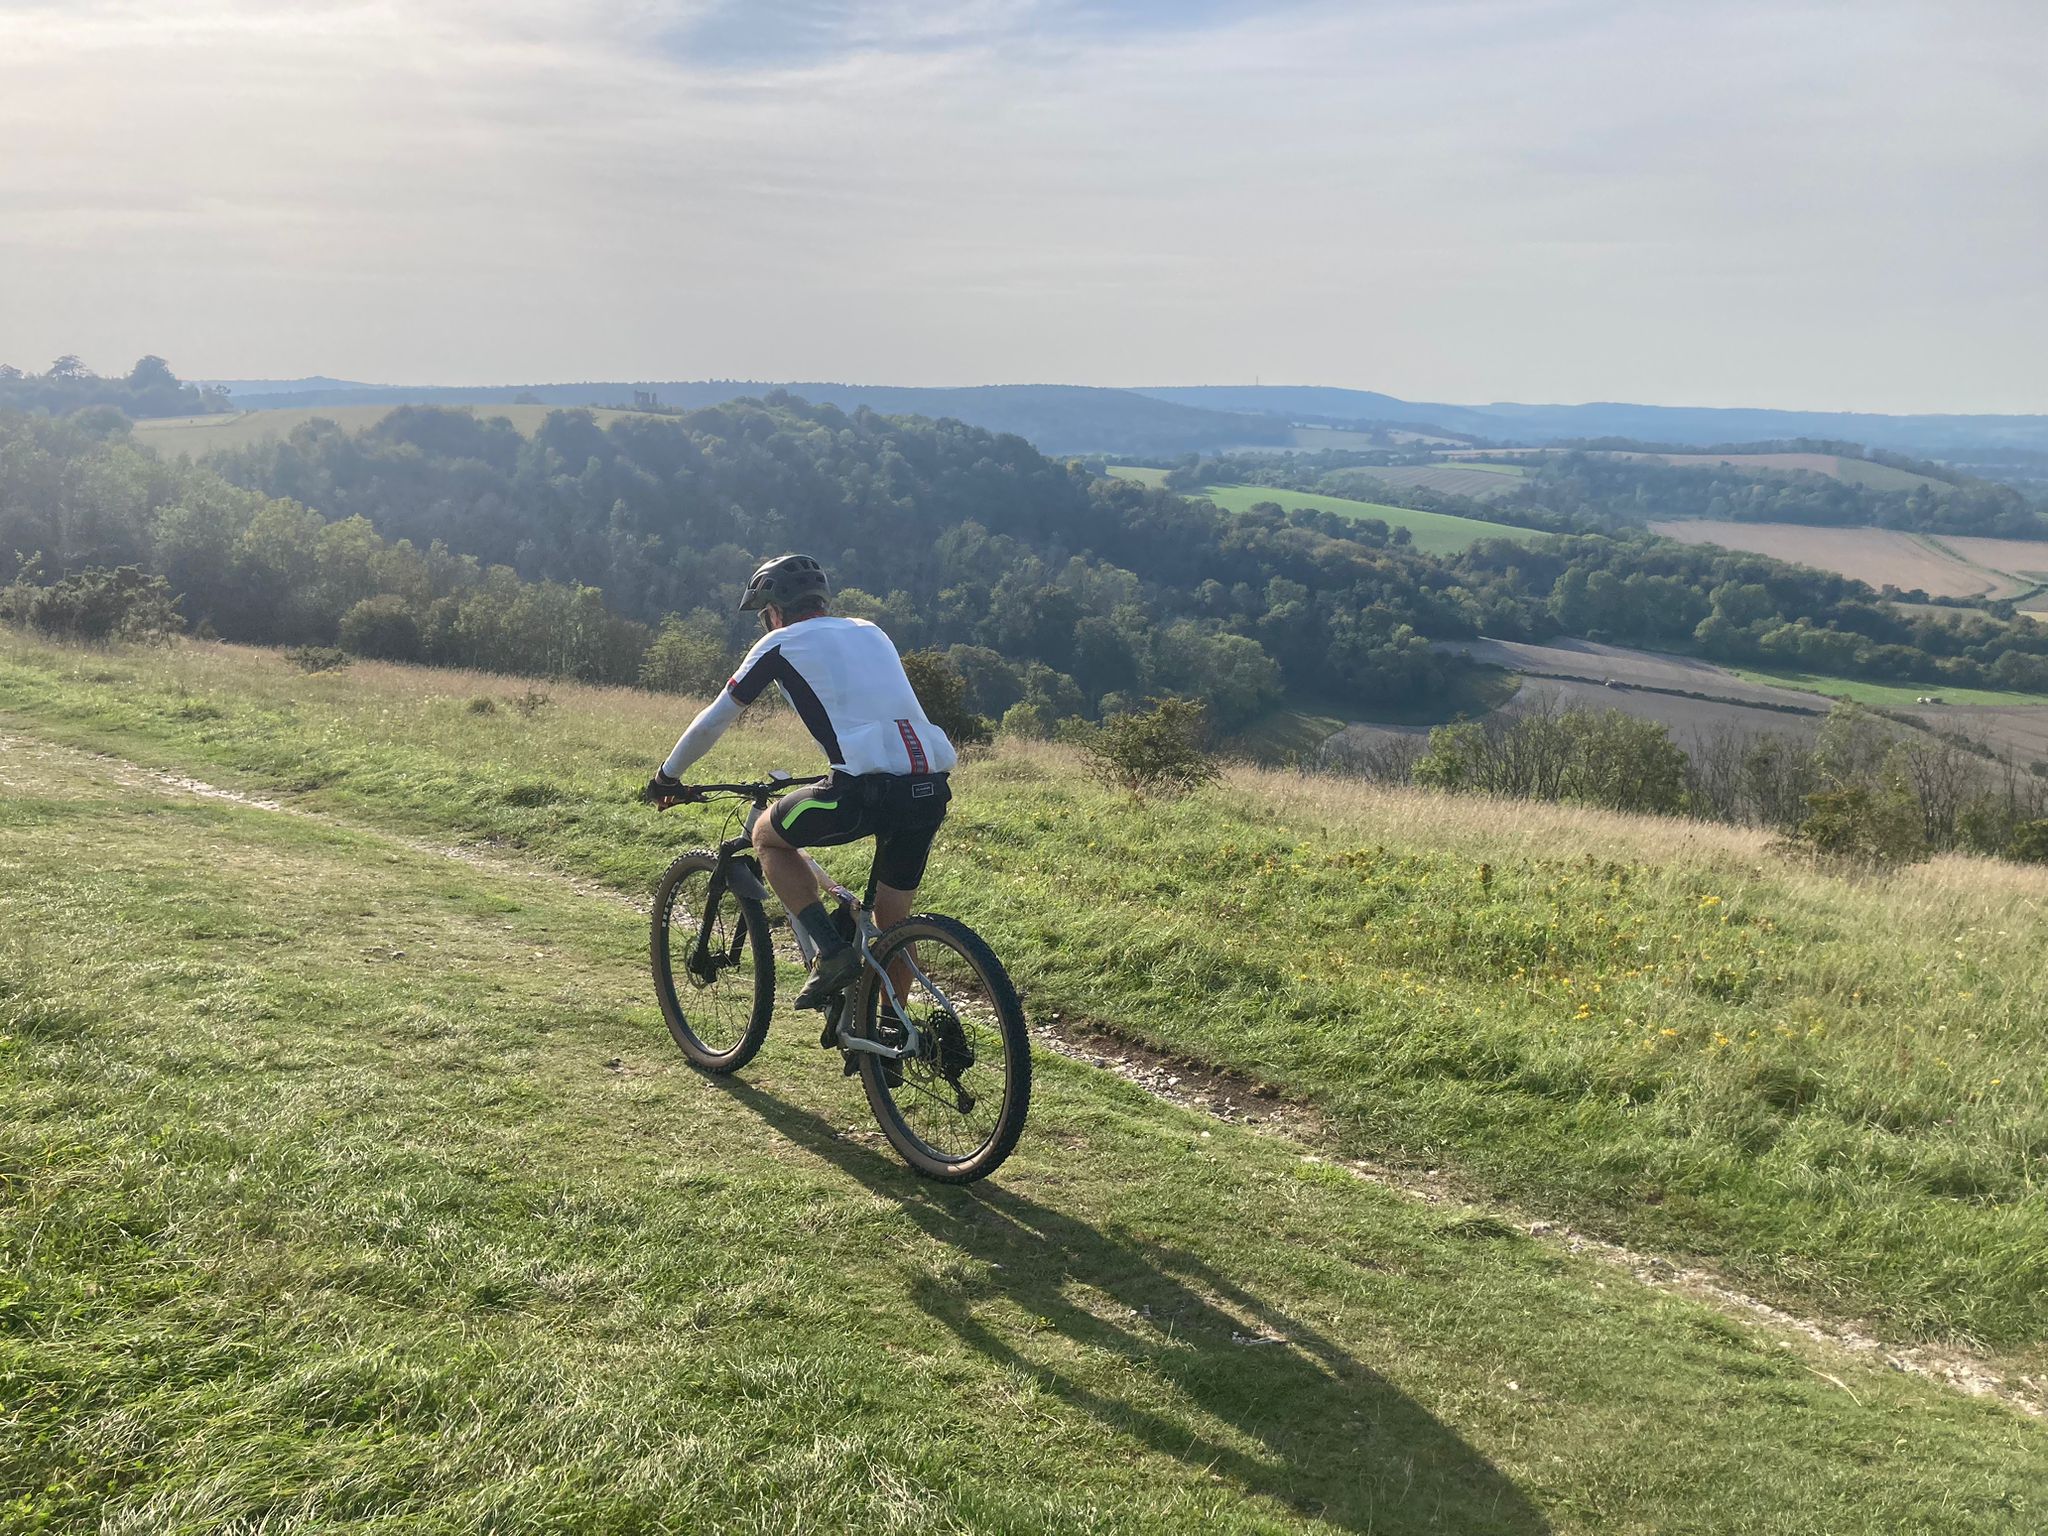
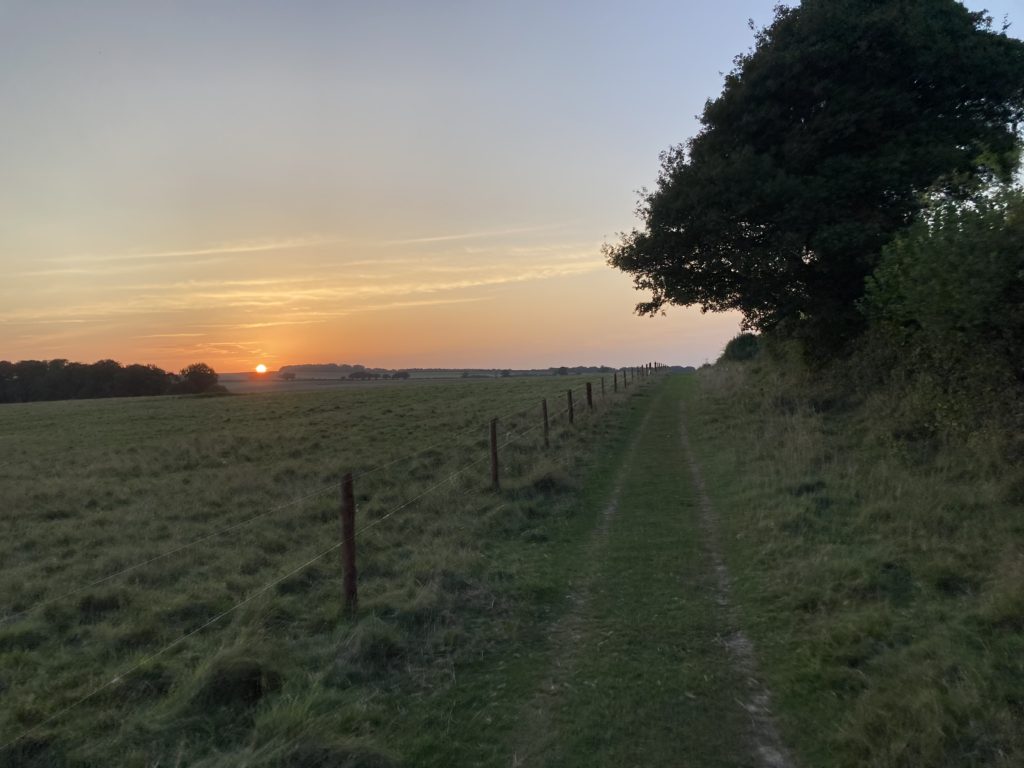
Discovering new parts of the SDW was a morale booster with the Ouse Valley being a particular highlight. The panoramic views of the coast made it easy to see progress as Newhaven then Brighton’s football stadium came into sight.
Riding the South Downs Way looks like a straight line on the map, but the reality is pretty different and there are many turns and forks. Although the signposting is excellent, it’s easy to miss a sign and a bike computer is a huge asset for navigation. I had found a GPX route online, checked it in Komoot and uploaded it to my Garmin, leaving the screen on for the first 40 miles which I didn’t know so well.
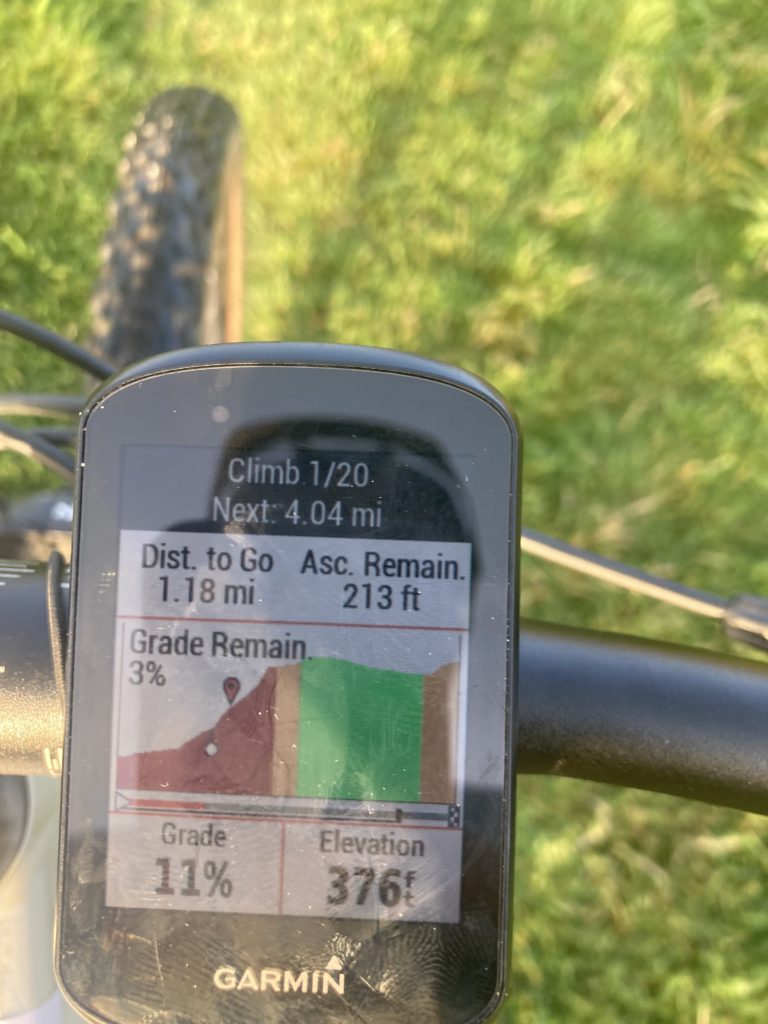
Despite Garmin’s claims of 20 hours life, I was running down the battery faster than I was running down the miles so I switched to energy saving mode (where the screen goes to sleep until there is a junction coming). Turning off the screen also enabled me to switch off from constantly doing mental calculations and saw me through to the end of the ride.
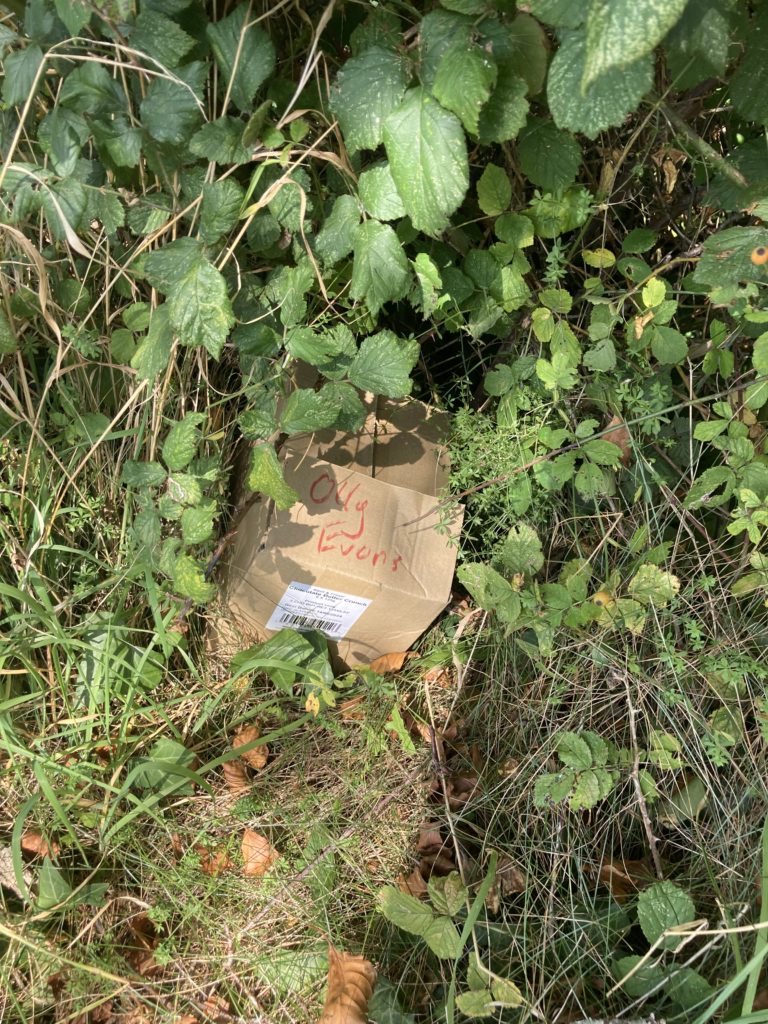
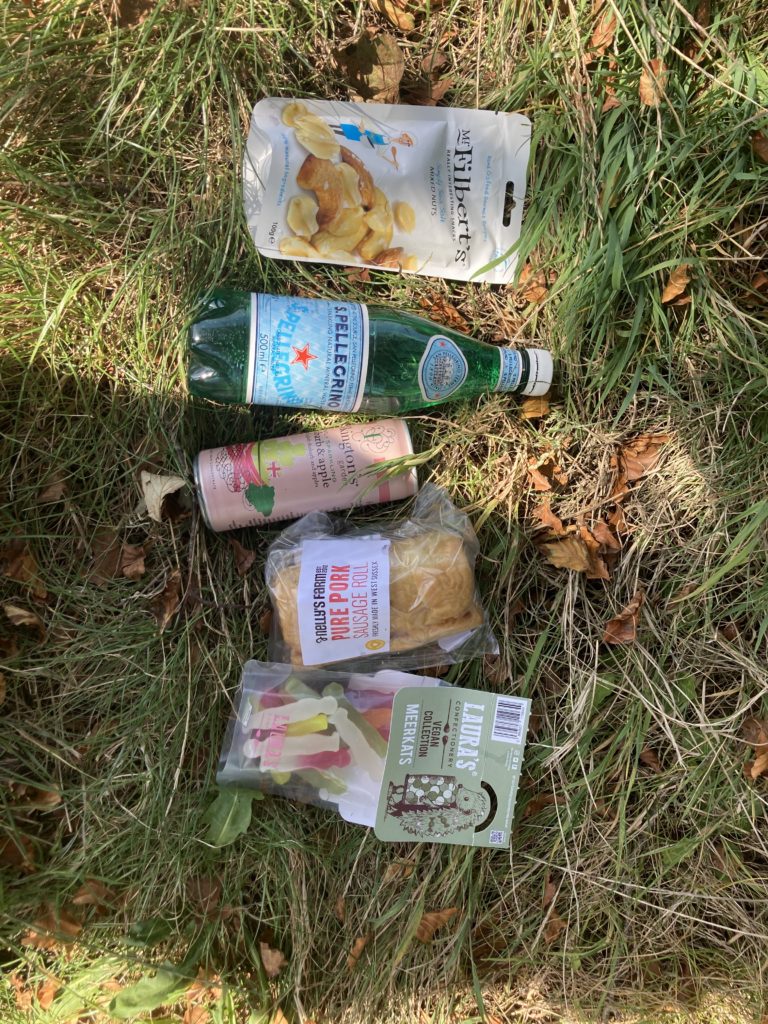
As I reached the top of Chanctonbury Ring (45 miles) just after midday, the hiss of a puncture was a welcome excuse to get off the bike for the first time and wheel it into the shade. A plug fixed the tyre in short order but when I sat down, I realised that the heat was affecting me more than I realised, with shallow breathing and a tight chest. While I cooled off, I took the opportunity to call home, reorganise my supplies, charge my phone and eat. The heat was stifling and Paul called to check on me having spotted on LiveTrack that I had been stationary for half an hour. Having cooled off I felt good and a whatsapp message from a friend (and SDW veteran) with a location pin and pictures of a surprise goodie bag he had stashed for me was enough to get me back on the bike and making good headway again.
My forced break gave me a new lease of life and a climb out of Washington that had punished me on a previous ride suggested I was substantially fitter now than ten years ago. Four miles on the plateau above Storrington raced by, with just the countless gates slowing me down. I soon caught up with another rider I had chatted with earlier as the beautiful Arun Valley came into view.
Abandoning plans to stop for lunch by the river, I rode up Bury Hill with Pete, whose Specialized Levo SL is enabling him to keep riding hard in his 73rd year. I might not ride e-bikes much myself, but this was a great example of why I’m big advocate for the way they enable people of different ages and fitness levels to get involved and ride together.
At the top of Bury Hill, I located my surprise stash from Ben and sat down to enjoy a farm shop sausage roll, truly the secret SDW energy food!
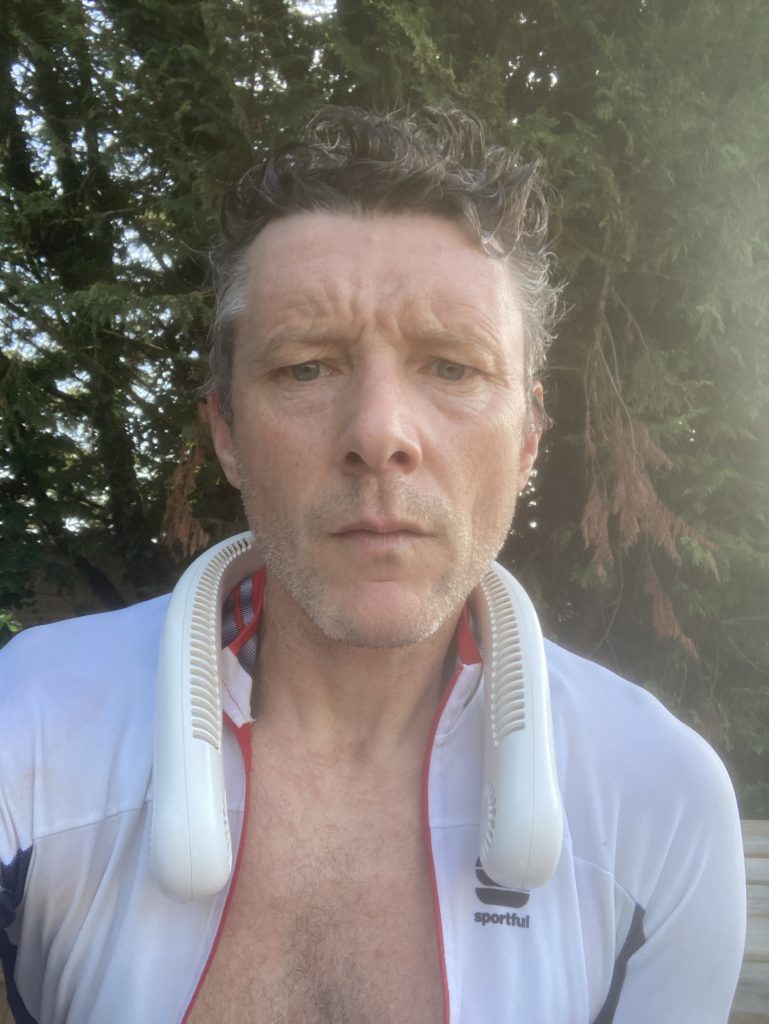
I was enjoying being on familiar trails but the heat was taking a toll now and I slumped onto a shady bench at Cadence Café Upwaltham just after 2.30, wondering if I had heatstroke and unable to get up to order a cold drink. The wonderful ladies there brought over a glass of iced water, made me an iced coffee and even lent me their portable neck fan before giving me a free apple juice. 20 minutes later, I was on my way feeling rejuvenated.
On Graffham Down, the SDW starts to become more tree-lined and the shade made life much easier. On arrival at Cocking I was surprised to see that Dan, who helps out at our QECP ebike rental centre, had ridden out to meet me (or perhaps to make sure I didn’t turn off and go home!). It was great to have a riding buddy to pace me up the Cocking climb and keep me company on the section to QE.
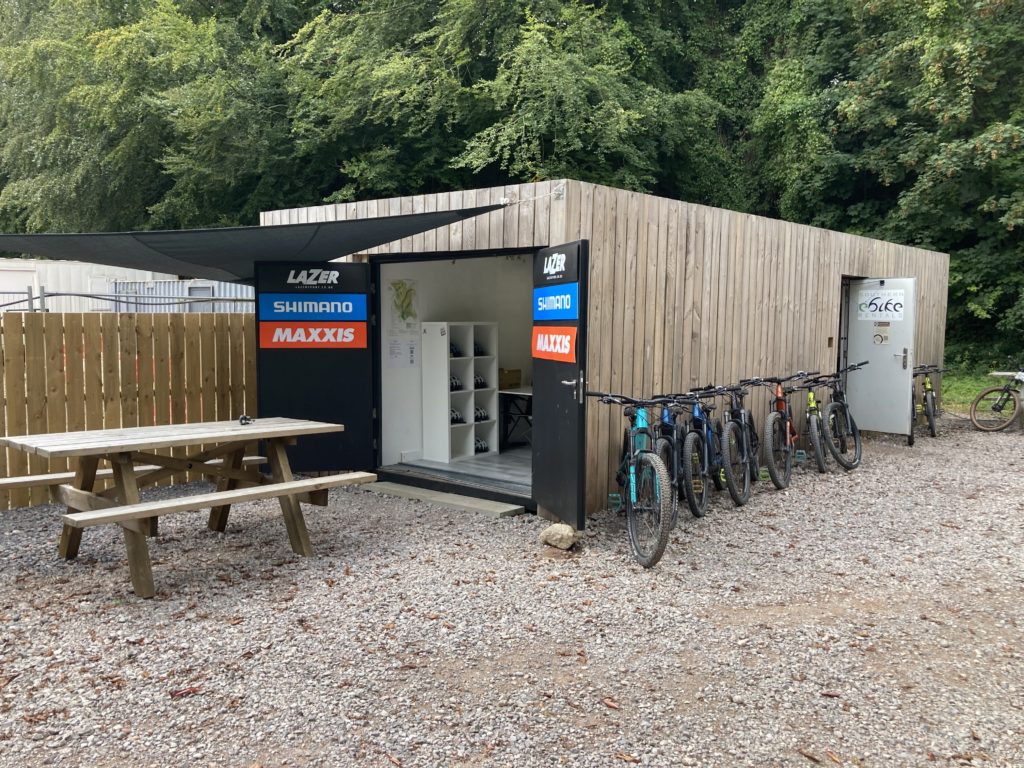
Arrival at SeBR’s base at QE was at 5.15, later than I had hoped, but Paul was surprised not to have to give me a pep talk for the final push. He had the table laid out with sandwiches, crisps, cold drinks and took my bike to the workshop for a once over while I refuelled. Having realised that I had less than three hours to avoid a long wait for a train, I remounted and headed for Butser, equipped with lights, energy and optimism.
Butser Hill is savagely steep and I hadn’t expected to make it up without walking but a few zigzags enabled me to claim the whole ride. My decision to ride East to West was vindicated as the next 20 miles were a breeze – Old Winchester Hill seemed short and the long climb from Exton was made easier by tarmac all the way. From the top, 10 of the next 11 miles are a gentle descent to Winchester.
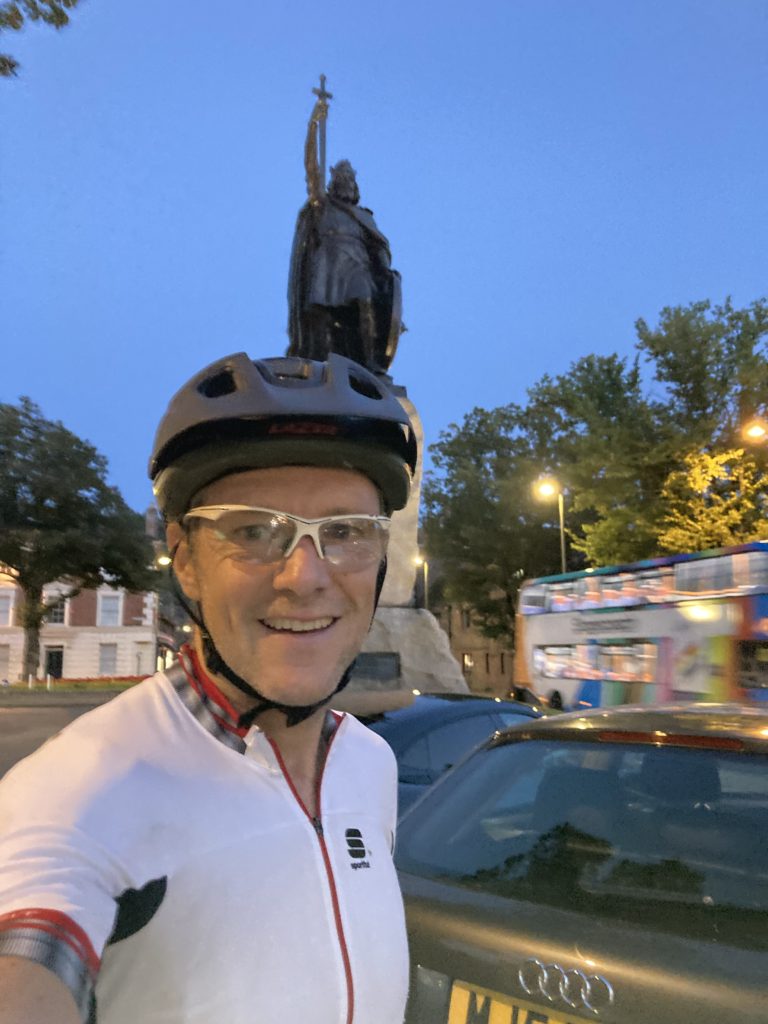
Arriving dust-encrusted and lycra-clad, I looked pretty out of place in Winchester’s Saturday night party crowd but was thrilled to make it and treat myself to a slap-up meal from Winchester station’s vending machines.
Looking back, I’m glad I took on the challenge of the one day. Although my preparation was last-minute, plenty of summer riding and good advice that I actually followed made the ride much more enjoyable than I had anticipated and the South Downs Way I would highly recommend. I have outlined my top tips below and hope these will prove useful to others.
Southern eBike Rentals regularly supplies ebikes for people riding the South Downs Way and can help you plan your ride. Don’t forget to read our page all about planning a SDW ride.
MISSION ACCOMPLISHED